Mounting Security Cameras: Tips, Tools, and Best Practices
July 9, 2025
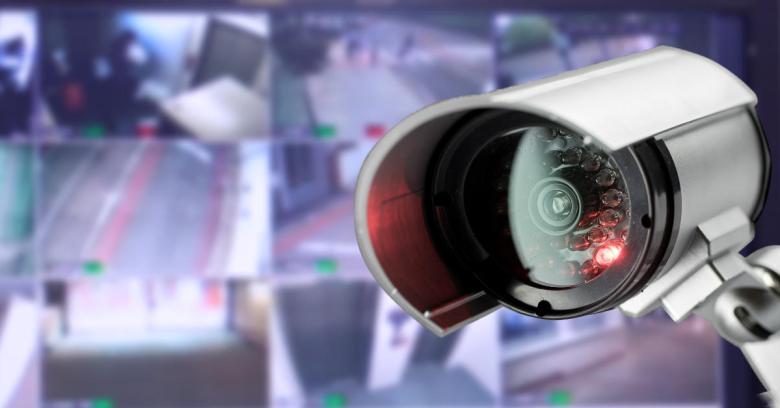
Mounting security cameras is one of the most effective ways to protect your home or business. Whether you’re setting up a small indoor camera system or a fully wired outdoor surveillance network, the process can be surprisingly straightforward—especially with wireless and smart home-compatible devices.
In this detailed guide, we’ll walk you through everything you need to know: from choosing the best camera locations to step-by-step mounting instructions, plus essential maintenance tips to keep your security camera system in top shape.
Content
How Easy Is It to Mount Security Cameras?
Thanks to advancements in technology, mounting security cameras has become much more user-friendly. Most consumer-level systems are designed for simple installation, even with minimal technical skills.
Wireless vs. Wired Systems
- Wireless cameras require less setup time and fewer tools. Many models are battery-powered and sync directly with your mobile device.
- Wired camera systems, on the other hand, may involve drilling, routing cables, and connecting to a central recorder (like an NVR or DVR).
While wireless options are more beginner-friendly, wired systems may offer higher resolution and uninterrupted connectivity—especially important for larger properties or businesses.
Installation Skill Level
If you’re comfortable using basic tools like a drill, screwdriver, and level, you’ll likely have no trouble mounting most outdoor or indoor cameras. The key lies in strategic placement, testing angles, and following safety precautions when working at heights.
For those less confident, hiring a professional installer is always an option—but it’s not a requirement for success.
Mounting Security Cameras: Step-By-Step Instructions
1. Choose the Right Mounting Location
Effective camera placement is the foundation of a strong security camera system. When choosing a location, keep these factors in mind:
- Cover entry points: front and back doors, ground-floor windows, and garages.
- Aim for elevated positions (8–10 feet off the ground) to reduce tampering risks.
- Consider light levels: place cameras where lighting is consistent, or use models with night vision.
For indoor cameras, position them near main hallways, entrances, or facing valuables like safes or home offices.
2. Test Camera Angles Before You Drill
Many people skip this step and regret it later. Before drilling any holes, temporarily tape or hold your camera in the desired position and view the live feed.
Check for:
- Blind spots or blocked areas
- Overexposure from light sources
- Clear identification of people or vehicles
Small angle changes can make a big difference in your footage quality.
3. Drill Holes and Install the Mounting Bracket
Once you’re happy with the angle and location:
- Use the included mounting template or bracket to mark drill holes.
- Drill pilot holes appropriate for your surface (wood, drywall, stucco, brick, etc.).
- Insert wall anchors if needed, then screw the bracket into place.
Use a level to ensure your camera is straight—it’s a small touch that enhances your footage and looks more professional.
4. Attach and Secure the Camera
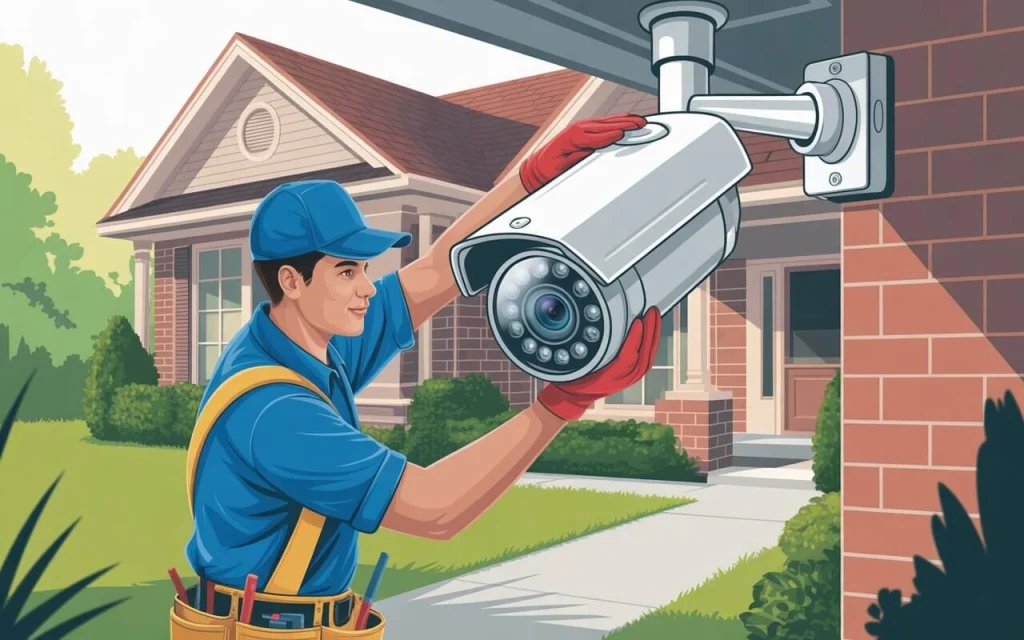
Attach the camera to the bracket using the included hardware. Adjust the tilt, pan, or rotation to finalize the angle. Once it’s aligned, tighten all joints and locking screws to prevent movement over time.
For outdoor cameras, make sure the housing is weather-sealed and cables are protected from rain, wind, and pests.
5. Connect the Camera to Power and Your Network
This step depends on your camera type:
- Battery-powered cameras: Insert batteries or recharge them fully before mounting.
- Wired cameras: Connect power cables to a nearby outlet or run them to a central power supply.
- PoE (Power over Ethernet): Use a single Ethernet cable to supply power and data to the camera.
Once connected, test the live feed again and finalize any recording or motion alert settings.
What to Consider Before Mounting Security Cameras
Installing a camera without planning can lead to missed coverage, weak signals, or power issues. Ask yourself:
- How large is your property? Will you need multiple cameras for complete coverage?
- Where are the high-risk areas? Focus on dark corners, alleyways, and blind spots.
- Will you be recording constantly or using motion detection?
Each of these factors plays a role in how you select and mount your security camera system. Careful planning upfront saves time and ensures reliable, round-the-clock surveillance.
Best Practices for Mounting Outdoor Security Cameras
When mounting cameras outdoors, there are a few additional considerations to protect your investment:
- Use weatherproof cameras with IP65 or higher ratings.
- Avoid placing cameras directly under roof drip lines.
- Secure cables with clips or conduit to prevent wind damage.
Bonus tip: use tamper-resistant screws for added security against vandalism or theft.
Tips for Maintaining Your Mounting Security Cameras System
Regular maintenance helps your system perform at its best and extend its lifespan:
- Clean lenses monthly with a microfiber cloth.
- Trim vegetation that may obstruct the view.
- Inspect camera housings for cracks or insect nests.
If you use wireless cameras, keep batteries charged or replace them periodically based on manufacturer guidelines.
Conclusion
Mounting security cameras can be a simple, rewarding DIY project that significantly boosts your safety and peace of mind. With modern camera technology, even beginners can install and configure a reliable surveillance setup in just a few hours.
Whether you’re protecting a home, office, or business, the key is smart planning, strategic placement, and routine upkeep. By following this guide, you’ll be well on your way to building a powerful and efficient security camera system tailored to your specific needs.
FAQs
Where is the best place to mount security cameras?
Mount security cameras near entry points like doors, windows, and driveways. Install them 8–10 feet high for wide coverage and protection from tampering.
Do security cameras need Wi-Fi to work?
Wireless cameras need Wi-Fi for remote access, but wired systems can record locally without an internet connection, depending on your setup.

Darin is a wonderful person. He is very nice and always willing to help out! He loves his job because it lets him share interesting things with people who want to know about new developments in the world of technology.

